Step 1: Remove Railing

Using a crowbar or a screw gun, remove any existing railing from the deck’s entrance and exit point.
Step 2: Level Ground Surface

Stringers, which are the basic framing and structural supports for staircases sized to meet proper code ordinances, must be added along the edge of the deck to create solid, level steps. To ensure a precise fit, first clear, and then level the ground where they’ll rest. Use a spirit level to assess the flatness of the surface, then mix and install concrete pads or place paver stones where each stringer will sit.
Step 3: Attach Stringers

Space stringers 16 inches apart below the deck boards to form a solid structural support. Next, attach the stringers to the joist using angled brackets or stringer hangers secured with 3” exterior metal screws.
Step 4: Attach Step Risers and Treads

Basic 5/4”x6”x12” deck boards are used to craft risers and treads, creating a seamless look between the deck surface and stairs. Use a chop saw to cut two 5/4”x6”x12” deck boards to size and install them as treads, allowing ¼” to ½” of overhang. Fasten the treads in place using 3” deck screws. Next, cut the risers to size, attach them along the vertical surfaces of the stringers, and then fasten them in place using 3” deck screws.
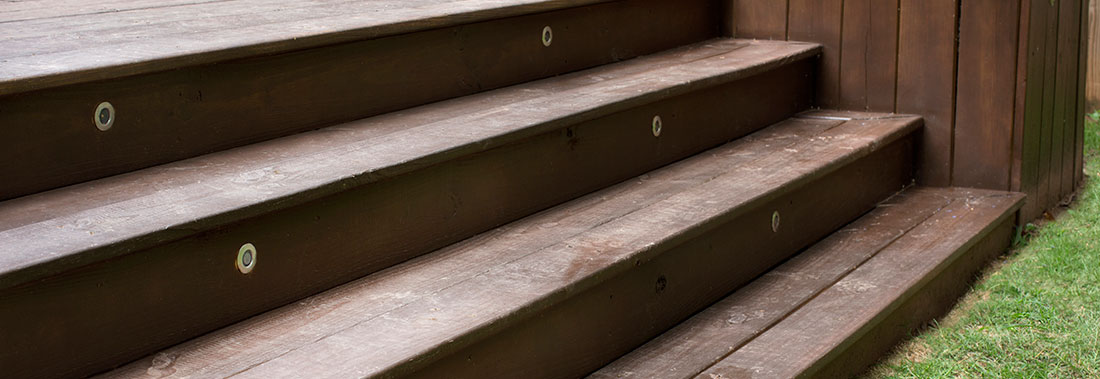
Step 5: Add Integrated Lighting

Keep a wide staircase well lit after dark with the help of integrated stair lights. To install, attach an appropriately sized paddle bit to the drill and bore holes directly through the risers. Next, insert lights through the holes and run any wires and/or transformers along the backs of the risers and treads.
Step 6: Add Integrated Planter Boxes

Incorporate flowers and plants into the architecture of your ground-level deck using integrated planters. To fashion these, align four pieces of pressure-treated 2”x4” lumber into a box shape, then create an internal surface for plants by cutting deck boards to fit the inner dimensions of the planter box. Next, face the box with deck boards using 3” deck screws. To allow proper drainage, install a 1-inch paddle bit to the drill, then bore holes through the planks, spacing them approximately 10 inches apart.
Step 7: Stain and Seal

Update all wood surfaces with stain and sealant using a staining pad and extender pole or cloth rag.
Once your stain has dried, give yourself a pat on the back and invite friends and family over to enjoy your newly upgraded outdoor space!
Bring an open, airy feeling to your deck with widened steps, integrated planters and accent lighting.
We’ve compiled a full list of materials you’ll need to add stairs to your ground-level deck here:
- Ready-made, pressure-treated stair stringers
- Spirit level
- Concrete pads or paver stones
- 2”x1’ steel angle brackets or stringer hangers
- Crowbar
- Screw gun or drill
- Shovel
- 2-1/2” deck nails or 3” deck screws
- Hammer or nail gun
- Paver stones
- Concrete mix
- Concrete mixing tub
- Drill
- Concrete mixing attachment
- Hose
- 5/4”x6”x1’ standard softwood lumber deck boards (we suggest cedar, redwood or pine)
- Chop saw
- Low-voltage exterior stair lights
- Paddle bit set
- Exterior wood stain
- Exterior wood sealant
- Staining pad
- Extender pole
- 3” exterior metal screws
- 3” deck screws