Step 1: Install Posts
Attach 8’x6” vertical wood posts to the outer edges of the deck using 6”x6” 12-gauge stainless steel adjustable post bases and metal screws. For added stability, fasten the vertical posts to the home’s exterior using post anchors and 2-1/2” stainless steel collated deck screws. Add a center post to the deck joist using a combination of post anchors and 3” countersinking deck screws.

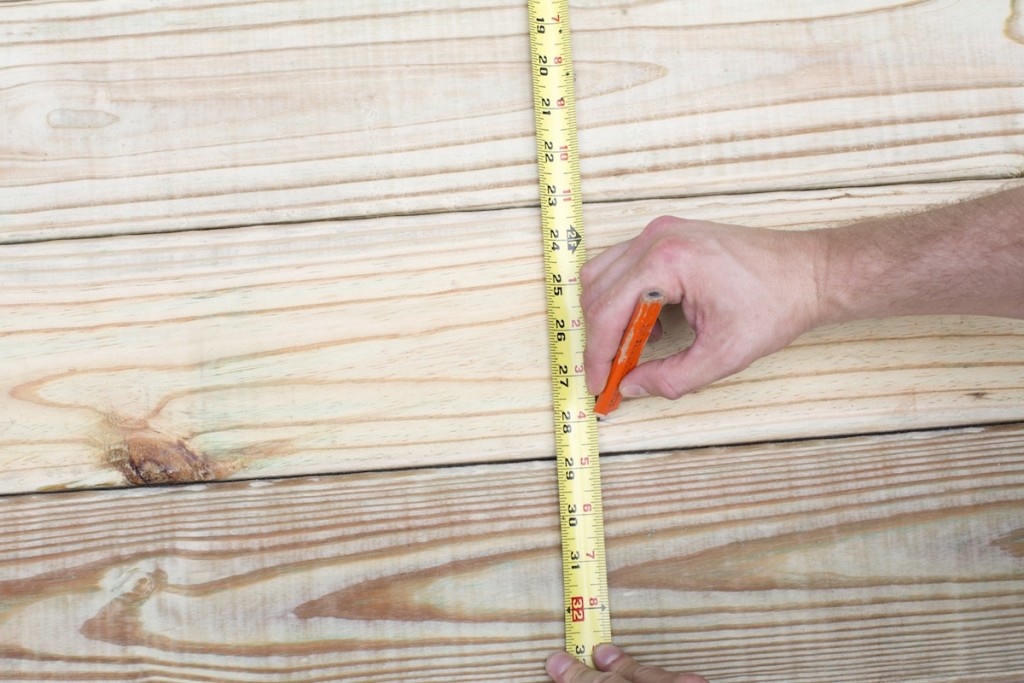
Step 2: Measure and Mark Bench Depth
Using measuring tape and a carpenter’s pencil, determine the proper depth for the bench, keeping in mind that most benches have at least 18 inches of depth. On average, a depth between 24 and 30 inches works best for comfortably lounging or sitting upright for a formal meal.
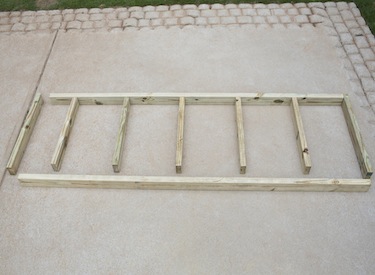
Step 3: Cut and Assemble Bench Box
To establish a solid seating structure, construct a basic box from 2”x4” lumber. Cut two boards to the chosen seat depth using a table saw. Next, cut two boards the same distance between each of the vertical posts. Lastly, cut seating joists to the exact interior depth of the box, spacing them 18 inches apart. Fasten depth boards, length boards, and joists together with 3” countersinking deck screws using a drill.
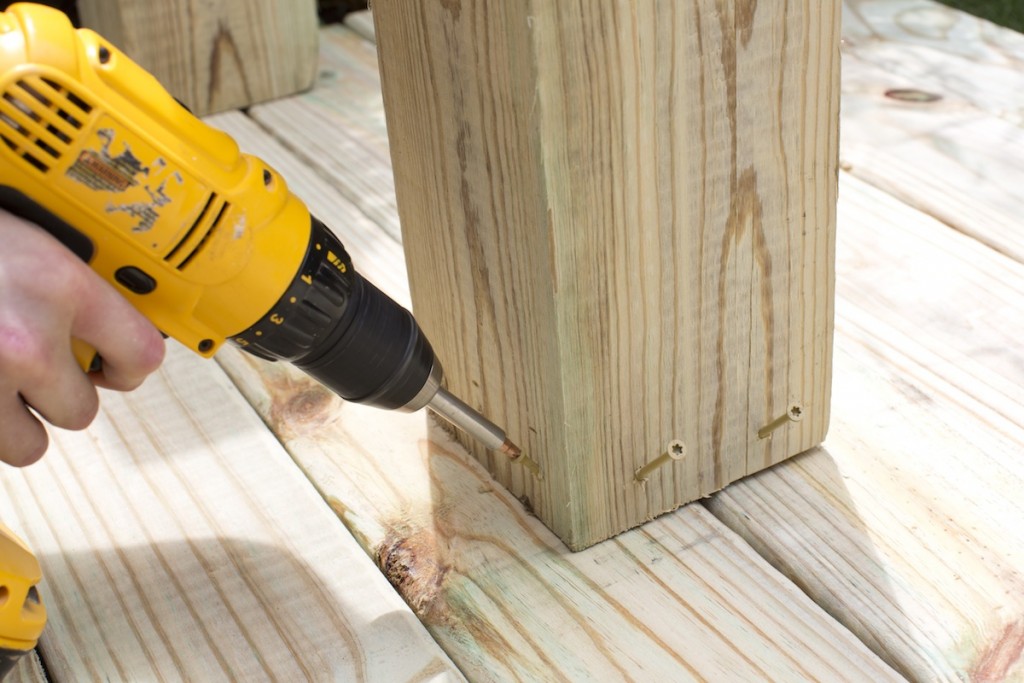
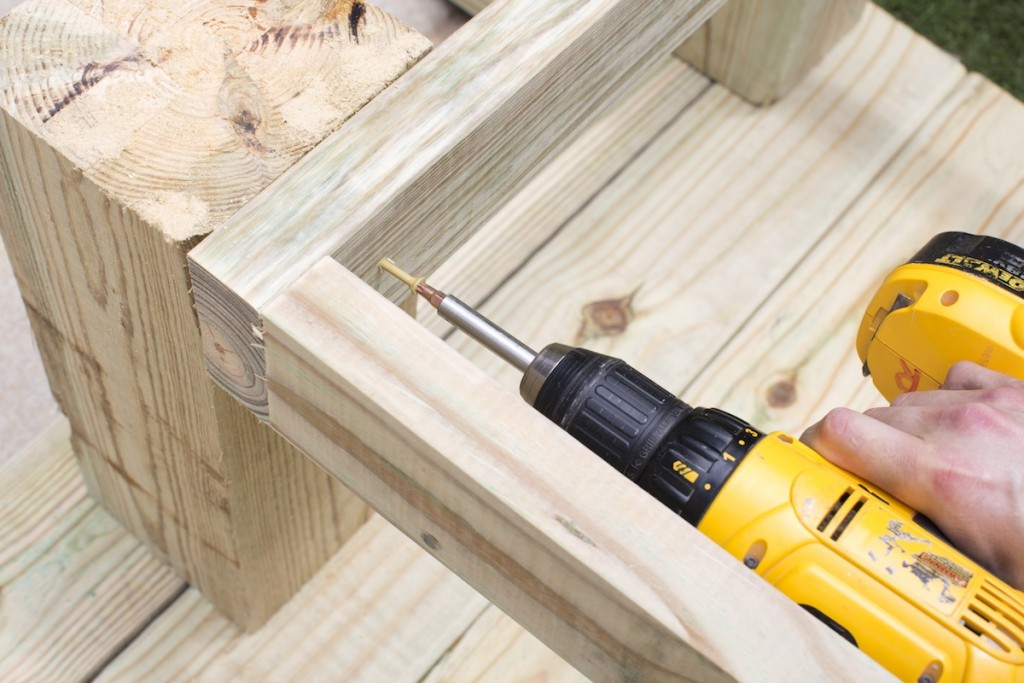
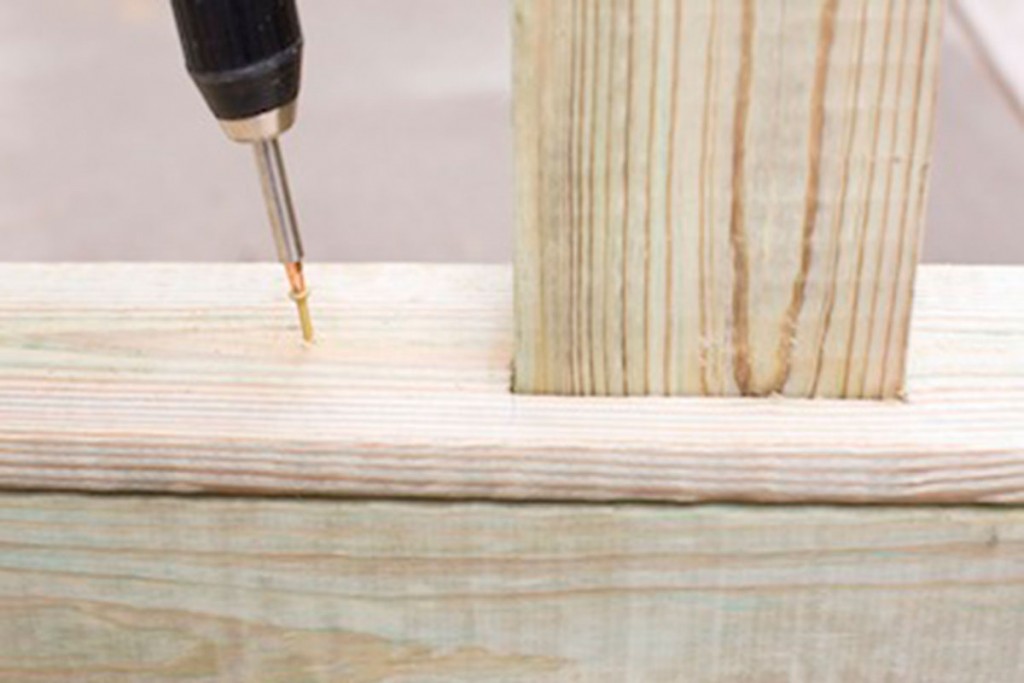
Step 4: Install Bench Legs
Cut 18-inch bench legs from 8’x6”x6” posts using a table saw. Be mindful of the finished depth of the bench while placing the legs in front of the vertical posts. Fasten the legs into the surface of the decking boards using 3” countersinking deck screws and a drill.
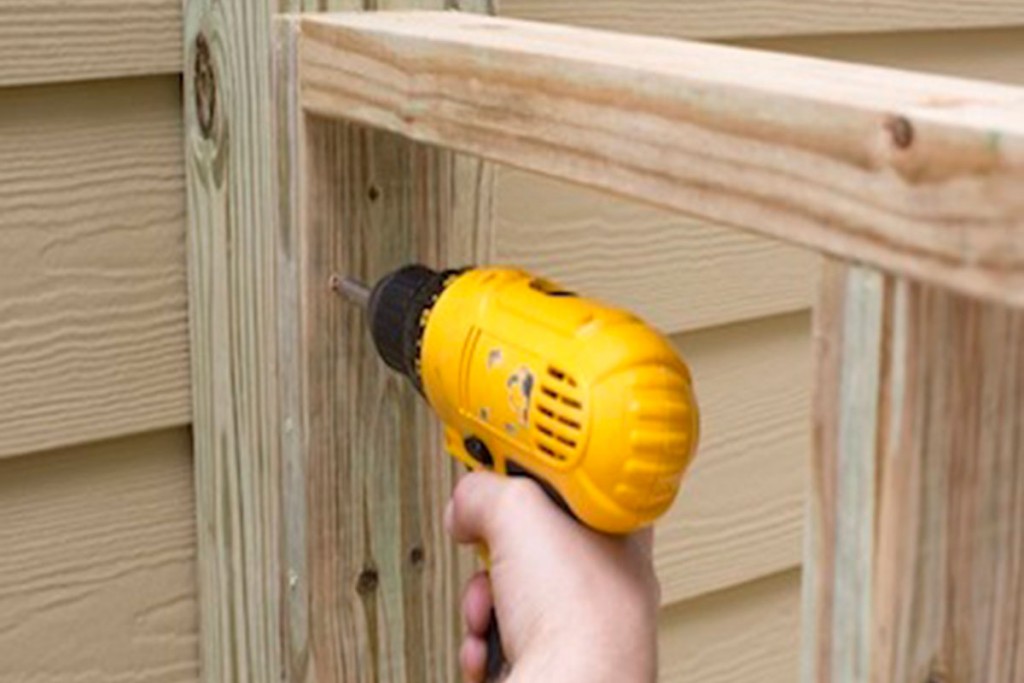
Step 5: Fasten Bench Boxes to Legs
Once all legs are securely fastened to the deck boards, position each bench box between the legs and the vertical posts. Secure posts in place using post anchors, 3” countersinking deck screws, and a drill.
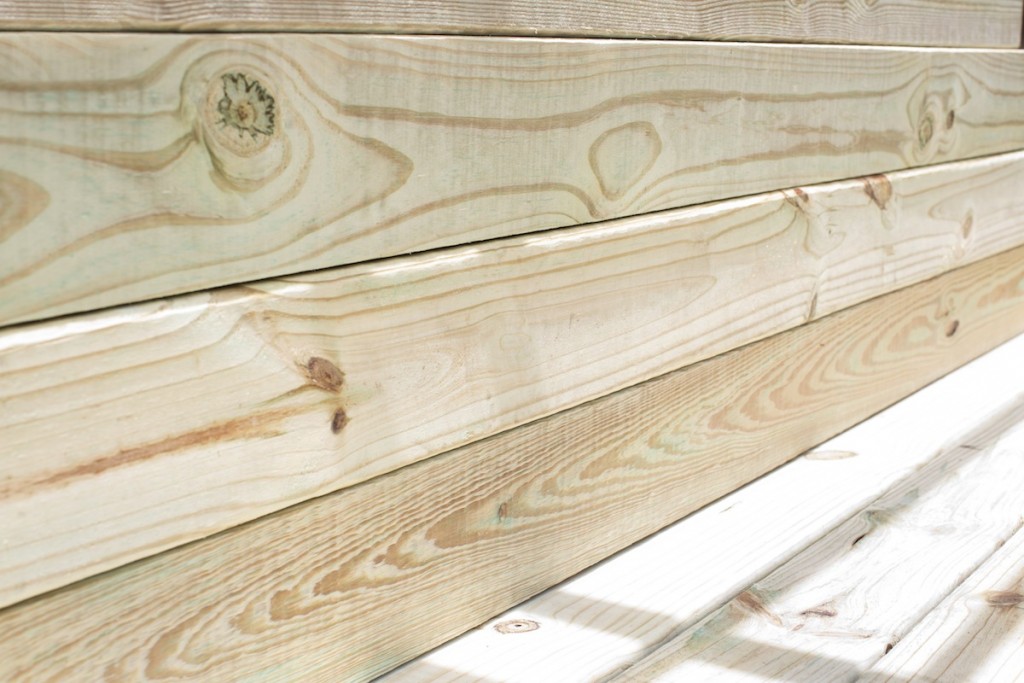
Step 6: Add Deck Boards to Bench Box
Cut deck boards to size using a table saw or a circular saw and a miter saw. First, cut the outermost boards for framing the front, back and sides, adding miters to each corner. Next, cut all central boards to the appropriate length and fasten deck boards to the top of the bench box using 3” countersinking deck screws and a drill.

Step 7: Install Backrest
Create a backrest for the bench using the same strategy used to create the bench box. First, cut two boards from 2”x4” lumber to a length equal to the distance between each of the vertical posts using a table saw. Next, cut two boards to 24 inches, the standard height for a bench backrest. Lastly, cut backrest joists to the exact interior depth of the box, spacing them 18 inches apart. Use a drill to fasten depth boards, length boards, and joists together with 3” countersinking deck screws. Secure the backrest to the vertical posts using post anchors, countersinking deck screws and a drill.
Step 8: Add Deck Boards to Backrest
Using the entire span of the bench as a guide, cut deck boards to size using a circular saw. Using a drill, fasten the boards directly to depth boards, length boards and joists of the backrest.
Step 9: Install Backrest Cap
To add a finished look to the backrest, cut a cap to size and fasten it around the vertical posts above the top deck board. Using a carpenter’s pencil, mark a 6-inches-wide-by 4-inches-deep notch into a deck board using a jigsaw (note: this notched deck board will be used as the cap). Next, fit the notches of the cap directly around each of the vertical posts, and then fasten the cap in place using 3” countersinking deck screws and a drill.
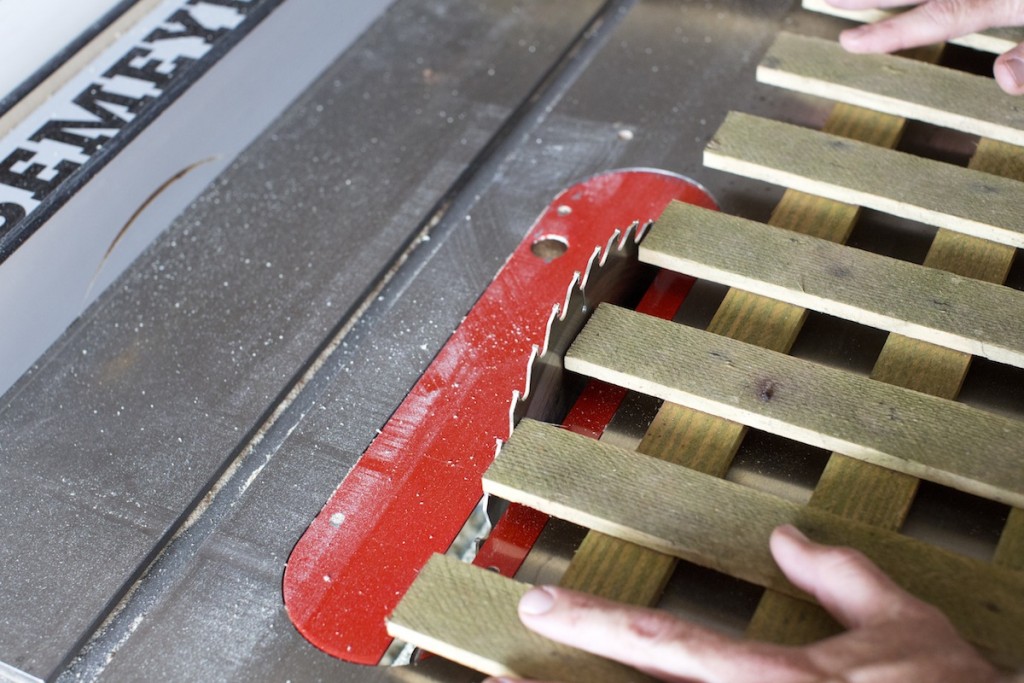
Step 10: Measure, Mark and Cut Lattice
Cut lattice to a length equal to the distance between each of the vertical posts using a table saw. Next, cut lattice to the intended height using the top of the vertical post for reference. Once cut, enlist the help of a friend to dry fit lattice between vertical posts for a snug fit.
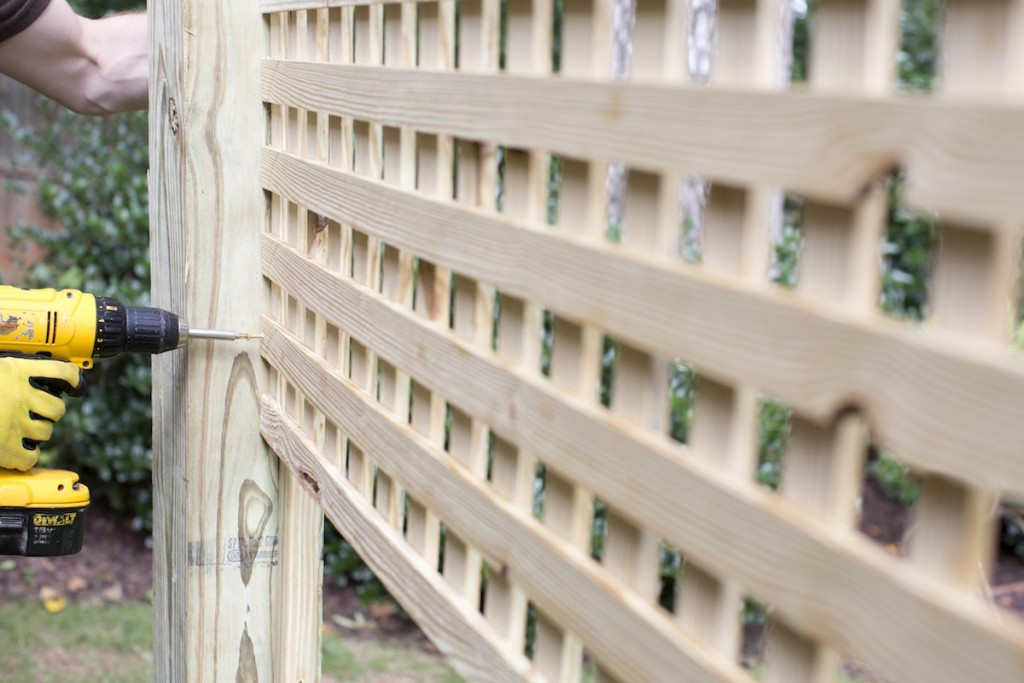
Step 11: Frame Lattice
To secure the lattice in place, frame it using 2”x2” lumber, and then fasten it directly to the vertical posts. Cut the lumber to size using a miter saw. Next, secure each section of the frame along the front of the lattice, fastening it in place with 3” countersinking deck screws drilled into the vertical post.
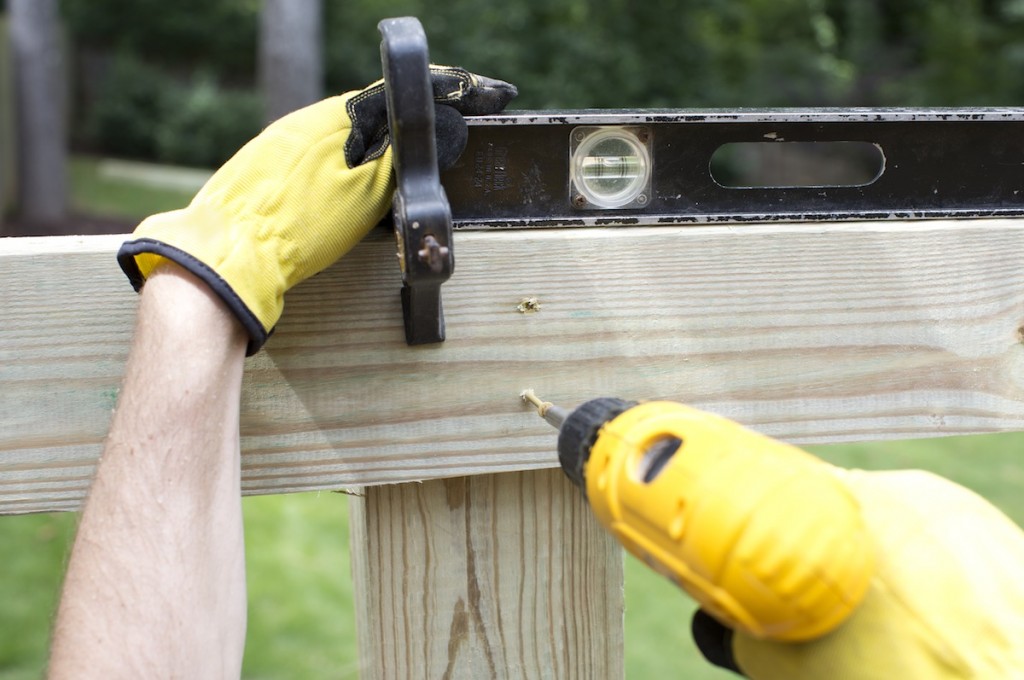
Step 12: Attach Shade Cover Beams to Vertical Posts
Holding each beam at a slight angle using adjustable C-clamps, secure in place using post anchors and drill.
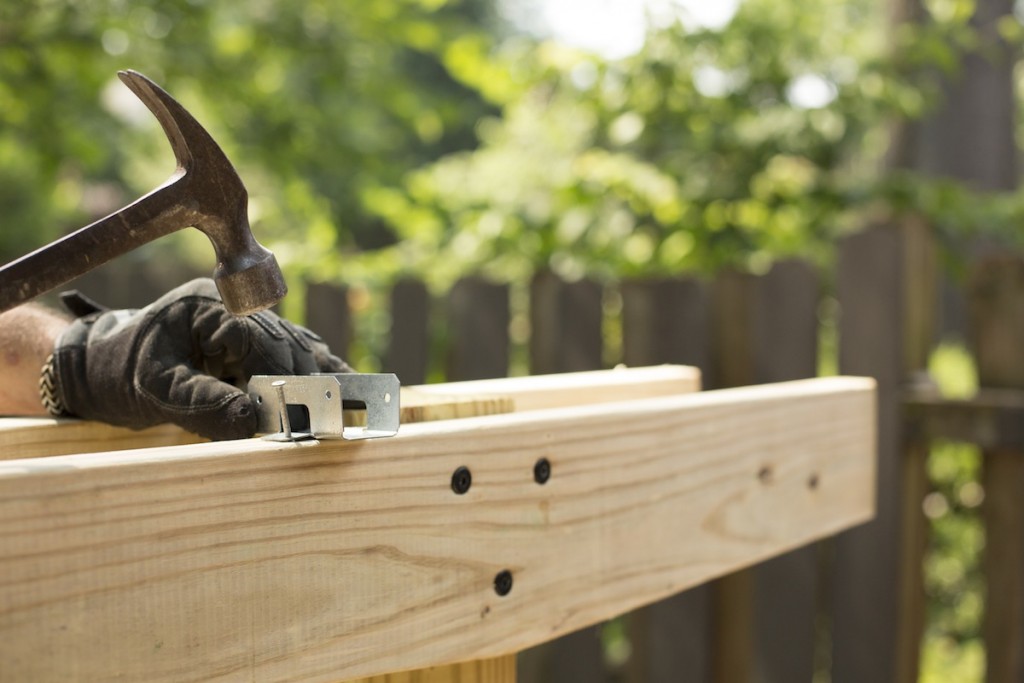
Step 13: Attach Horizontal Shade Slats
Cut 16‘x2x6” boards to the proper overall length of the bench using a table saw. Next, fasten 2”x6” framing brackets to the top of each beam using 50-pound, 8-gauge joist hanger nails. Then, secure the boards into framing brackets using 3” countersinking deck screws.
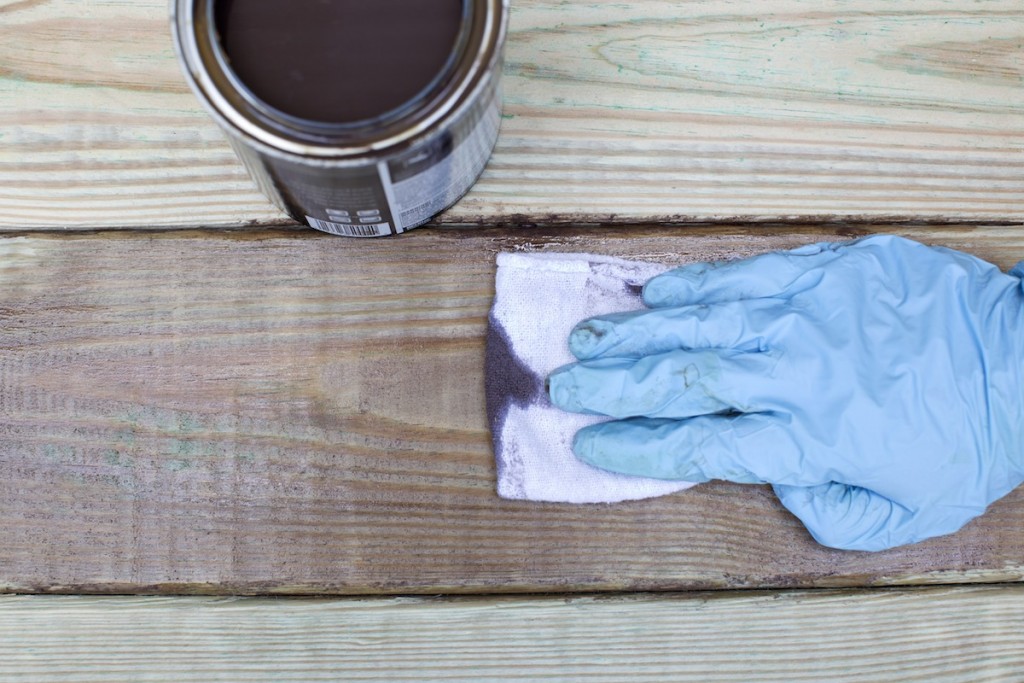
Step 14: Stain and Seal
Wipe all surfaces with a damp rag and apply a stain using staining pads. Once the stain is dry to the touch, apply sealant using a staining pad or a paint sprayer. Allow 48 hours for the stain to properly cure before utilizing the space.
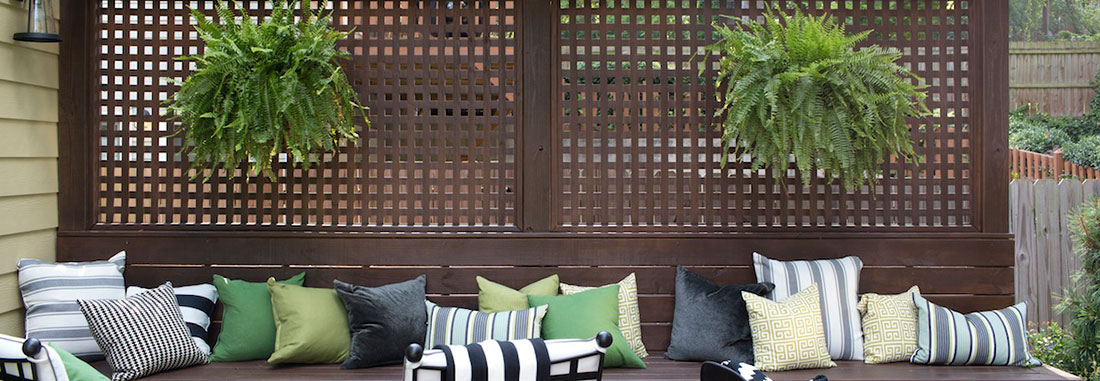
Guests will be impressed with your DIY skills when they see this multi-functional lounge area. It’ll be our little secret how easy it really was!
Using softwood lumber, add to your deck a cozy place for guests to lounge that doubles as a privacy wall and shade protector.
We’ve compiled a full list of materials you’ll need to build your own custom bench here:
- 8’x6”x6” pressure-treated wood posts
- Drill
- 3” countersinking deck screws
- Level
- 2”x4” softwood lumber boards (we suggest redwood, cedar or pine)
- Circular saw
- 6”x6” 12-gauge stainless steel adjustable post base
- Softwood lumber deck boards
- Softwood lumber wooden lattice
- Carpenter’s pencil
- Measuring tape
- Jigsaw
- 2”x2″ softwood lumber
- Miter saw
- Adjustable C-clamp
- 2”x6” softwood lumber
- Post anchors
- 2”x-6” framing brackets
- 50-lb, 8-gauge joist hanger nails
- Nail gun
- Hammer
- 2-1/2” stainless steel collated deck screws
- Exterior wood stain
- Exterior wood sealant
- Staining pad
- Paint sprayer